This post may contain affiliate links, from which we earn an income. Click here to read our affiliate policy.
Taking Your First Motorhome Trip
Going on your first motorhome or campervan trip with your brand new shiny van is a bit of a rite of passage. A shake out is a great idea to make sure things work, get to know your van and understand what kit you need to enjoy the motorhome lifestyle.
As with most things, plans don’t always go according to plan and motorhomes don’t always do what they’re supposed to! That’s why your first trip should ideally be to a campsite close to home, so that if anything goes wrong it’s easier to manage.
In our guide to taking your first motorhome trip, we’ve pulled together all our top tips and tricks, which we’ve learnt over five years of living on the road – we hope the info we share means you don’t make all the mistakes we did when starting out!
Motorhome Basics
The absolute basics you need before you go motorhoming and campervanning are a driving licence (make sure its appropriate for the fully laden weight of the motorhome), an MOT if your new to you motorhome is over three years old, road tax and motorhome insurance.
It may sound obvious, but we recently supported someone who’d bought a used motorhome but didn’t have the licence requirements to drive it as it was over 3,500kg, as they hadn’t done any research before buying.
Before you set off, make sure you know your motorhome dimensions, especially the height. Write them down somewhere that you can easily see them when driving. This helps if you see a sign for a low bridge for example – you can quickly refer to your note to ensure you have enough clearance. Alternatively, get a motorhome sat nav!
Recommended Reading
Finding a Campsite
You may be aware of, or have stayed at places close to your home before. If you join the clubs like The Caravan and Motorhome Club or The Camping and Caravanning Club, they also have well-maintained and equipped motorhome club sites around the UK. Otherwise use a motorhome app like Park4Night to search for the best motorhome sites near you.
Book a pitch with EHU (electric hook up) so you can test your lights and sockets. You may be able to get a pitch with fresh water and waste services, but these are not common in the UK and tend to be a bit more expensive.
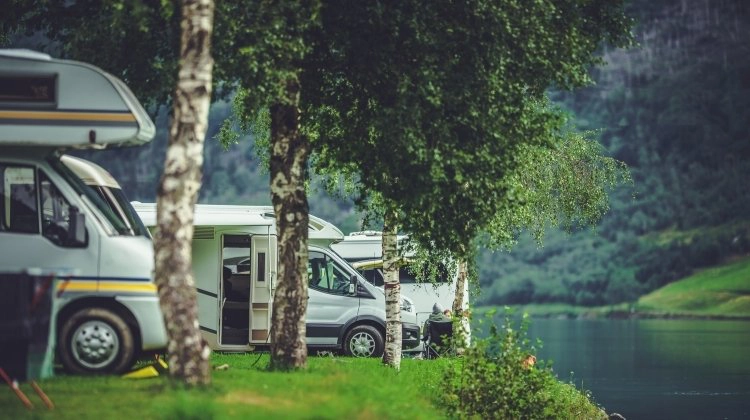
Some sites have one service point for fresh and waste water and others provide points around the site. Make sure the pitch is large enough for you to be able to get out your awning, if you have one. If you are in a particularly large motorhome, check with the site that they can accommodate your rig before you arrive.
If you’re making your first motorhome trip in Europe, then use Eurocampings to find sites and get the ACSI CampingCard to take advantage of discounted low season rates.
How to Pack a Motorhome
Don’t pack your motorhome or campervan like you’re heading off to the Amazon for a month! You may well end up over weight and won’t need most of it.
Be clever about your storage and spread your kit around as well, so that you evenly distribute the weight. This is even more important when you are fully laden for your first big trip, so its best to get into the habit now.
At this stage, although it may be all you want to do, don’t go to the shops and drop a fortune on special motorhome extras. Work out what you need first and what you can take from home.
There are a few things you need for travelling in a motorhome, which you should have for your first trip. If you don’t use these motorhome accessories on this trip you definitely will at some point in the future.
Make sure you have a first aid kit, even a basic one and don’t forget the loo roll, not all sites supply it and you may wish to have a choice between using the motorhome toilet and the site ones.
If you have quick drying towels at home, choose those to take rather than heavy, fluffier ones, and remember a washing line to dry them on. You don’t need specialist motorhome bedding at this stage – a sleeping bag or duvet from home will do.
Your usual pots, pans and kitchen utensils will do for this first outing.
Once you’ve survived your first trip, use our essential motorhome equipment list and motorhome packing list to plan what you need and maybe take a trip to one of the motorhome shows to see what new motorhome must-haves you can treat yourself to!
Motorhome Essentials For Your First Trip
Things to Do & Think About Before You Leave Home
Arriving on Site
Pitching up for the first time can be daunting. Campervan, caravan and motorhome owners are a nosy lot and you will find people having a good look at the new arrivals. It’s a pretty sure thing though, that if you ask for help, they’ll be there in a flash.
Don’t be afraid to ask if you’re feeling a bit confused or overwhelmed, fellow motorhomers are the best source of expert advice you can find.
On arrival, you’ll be given the details of your pitch at reception. If you want to fill your fresh water tank, now is the time to do so, before you get settled, unless you’re lucky enough to be on a pitch with fresh water.
Make your way to your pitch and work out where the sun is, so you can park accordingly – there is no ‘correct’ way but some people prefer evening sun and others the sunrise.
It can nerve-wracking parking a large vehicle, especially if you need to reverse, but keep calm when parking your camper and ask for help if you need it. This is where a reversing camera is invaluable!
Check whether you are level. Some people use a small spirit level, or you can use an app or just do it by eye and feel. It really depends on how un-level you are and what you can sleep with. Campsites for motorhomes often have level hard-standing, which can be a better option, particularly if the ground and surrounding land is wet.
If you’re using chocks for the first time, there is a bit of an art to doing so and now is the perfect time to practice. In our two years on the road, we have only ever carried two chocks, which has usually been sufficient.
Occasionally, we have had to use a bit of wood or stone lying around, but it’s a rarity. Assess front to back and side to side to determine where you need the chocks and drive or reverse on depending on the space your’e in.
For example, if you’re down at the front and left side, you may only need one chock under the front left wheel or you may need a chock at the rear but placed further away from the wheel so there is less lift at this corner. This is just one of those things that only practice makes perfect!
Site Etiquette
Our Best Motorhome Trips & Destinations
Setting Up Your Motorhome at the Campsite
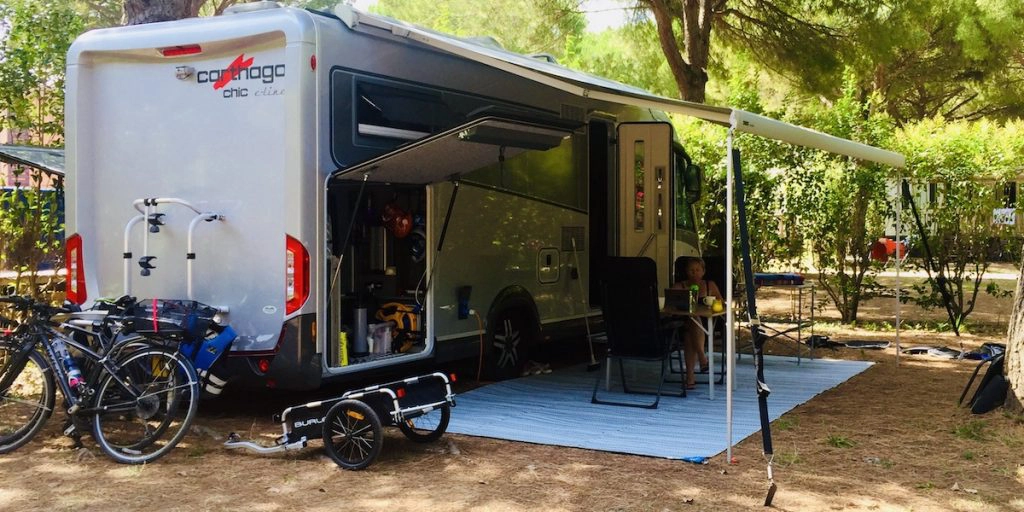
Putting on the kettle and playing house is my favourite part of the day!
The Complete Guide for Motorhome Beginners
With our best motorhome tips and advice about motorhome basics to where to park for the night and ideas for touring Europe, this is the ultimate resource for motorhome newbies.
This motorhoming ebook will help you get to grips with the inner workings of your motorhome, giving you confidence for life on the road and your first motorhome adventure!
How Do Motorhomes Work?
Awnings & Privacy Rooms
This is the perfect time to test your awning. Some awnings are electric but the vast majority wind out. The awning has a slotted hole, usually at the rear end of the housing. There will be a winding pole (often in two parts) which you fix together and one end is designed to fit the slotted hole, it can only fit one way.
Use the handle to twist the pole and your awning will start to slide out. Once it is low enough, release the legs which are tucked into the front edge of the awning housing and pull them down. They are adjustable on a spring basis and as the awning is fully extended you can make them taller or shorter. Tilt your awning slightly so that any rain water will run off.
If it’s at all breezy or you’re going to leave the awning out overnight, you must use awning straps. Your awning acts like a kite in wind and can be ripped from the side of your van in only moderate winds and they’re expensive to replace.
Most awnings can also have side and front panels to make them into privacy or safari rooms. These do take up quite a lot of storage space and are complicated to erect and dismantle, so only really suitable if you are spending more than a few days on a site, but ideal if you need more room when travelling as a family.
Gas
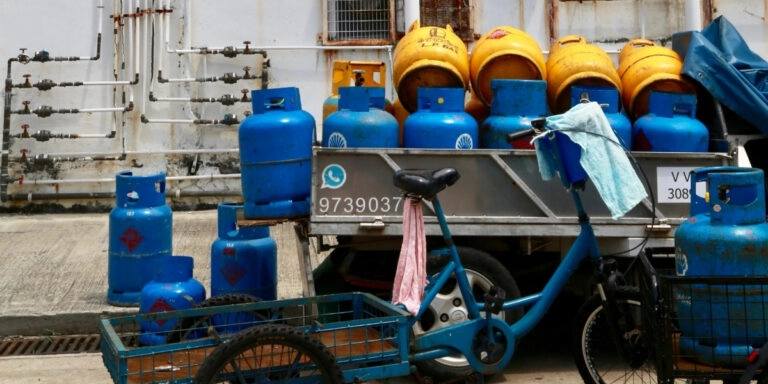
Motorhomes use gas (LPG – liquid propane gas, but just to be contrary, it can actually be butane or propane or a mix of the two depending on where you are) to cool fridges when EHU is not available. They also use gas for cooking, heating and hot water.
Most motorhome heating and hot water systems can also run on electric or a mix of the two, but it is less effective and in winter, it will take much longer for your motorhome to warm up. In some European campsites, the power will not be enough to operate your boiler effectively and you will be constantly tripping the switch at the campsite socket, not ideal if you’re touring in January!
Gas is a super-efficient fuel and not very expensive, particularly on the continent. Your motorhome will have a gas locker where your bottle(s) are stored and connected to your motorhome supply system, feeding gas to your hob, oven, fridge, boiler and external gas point if you have one.
Refillable gas systems look very similar to normal bottles but do not need to be exchanged, they are refilled at the LPG pump at the fuel station through a filling nozzle fitted (usually) in the gas locker door, or in the case of Safefill bottles, directly from the pump.
If you are travelling in Europe, the systems come with a set of adaptors meaning you can fill in any European country and not have to carry different fittings and regulators for your UK supplied bottles or carry empty bottles around that cannot be exchanged.
The cost of filling at the pump compared to exchanging bottles is around 70% cheaper, but you do have to pay the upfront cost of the cylinders and fitting which in our view, is a worthwhile investment.
RELATED POST: Motorhome Glossary – A-Z of Terms & What They Mean
Water & Waste
If your pitch has fresh water, you can fill easily whenever you need to with a hose pipe. We recommend at least a 30m pipe so you can also access water near to, but not on, your pitch. If the site has one service point, then you either have to drive the motorhome there when you need water, or use a manual collection method.
Many people carry a large watering can for this purpose or you can buy a water carrier, but they can be difficult to empty into your tank. You may see the odd touring caravan or trailer with a holding barrel by the fresh water inlet, filling from a tap and pumping into the van. Motorhome water tanks don’t work in the same way as caravan water tanks and this system is not usually or easily possible with a motorhome.
Grey water waste (everything but black water, which is your toilet waste) is collected in an underslung waste tank, usually around the same size as your fresh water tank. Your motorhome may have a control panel where an indicator will tell you how much waste water you’re carrying.
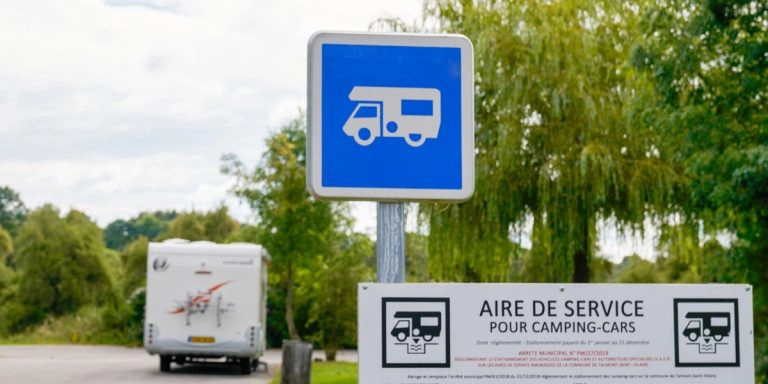
All sites provide a drive over grid, where you position your outlet pipe over the grid and drop your grey waste by opening a lever – open slowly or you’ll get splashed! You will get to know your van after a while, some need to be on a slight incline to empty fully. Be considerate and sluice down the grey waste area after dropping your tank, the water can be quite smelly.
If there is a waste point on your pitch, it will be a soil pipe with a cap on; remove the cap and feed a hose from your outlet pipe into the soil pipe and open the lever. We have found that often these points don’t work well or have not been designed correctly, in that they are higher than the rest of the pitch and so your waste water sits in the pipe. Depending on your motorhomes outlet pipe arrangements, you may need to buy a specific length of hose or pipe to make this work.
The other method is to leave your lever open and position a bucket under your outlet pipe and dispose of the waste manually on a regular basis. Do not dispose of this waste on your pitch unless it is into the soil pipe, take it to the correct grey waste point. How often you need to do this depends on whether you choose to wash-up and shower in your motorhome or use site facilities.
Recommended Reading
An Easy Guide to Motorhome Water Systems
An Easy Guide to Motorhome Electrics
An Easy Guide to Motorhome Gas & LPG
An Easy Guide to Motorhome Leisure Batteries
The Dreaded Motorhome Toilet!
All sites provide a chemical toilet emptying point, usually behind or close to the site sanitary facilities. Emptying the motorhome cassette toilet tends to be a morning ritual for many, so expect a queue if you go early.
Some toilet systems have a light to tell you when the cassette is getting full. Don’t wait for the light to turn red, I write from bitter experience! This post has full information and a video on the correct way to empty your loo.
Occasionally, the toilet emptying point is in the same place as the grey water and fresh water services. If you’re not using your own fresh water hose, make sure that the supplied fresh water hose is not being used to clean out toilet cassettes before you stick it in your tank and contaminate your whole water system.
Motorhome Electrics
If you are hooked up, your 240v sockets (as you have at home) will be working, your fridge will be running from the sites electric and your leisure battery will be charging. In the UK, it’s likely that the site electric will be 16amp, meaning you can use a hairdryer, toaster and so on as normal.
In Europe, lots of sites only provide 6 or 10amps, meaning this equipment may struggle if the site is busy or at certain times of the day. If you are intending to spend time in Europe on sites, you may want to look at low voltage electrical equipment before your trip.
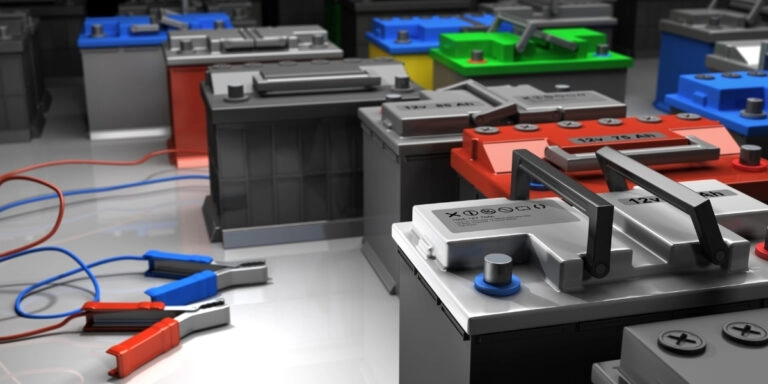
Now is a good time to test that your leisure battery (and solar panel if you have one fitted) is doing its job. Unplug your motorhome and turn the fridge to gas (it sounds extravagant but the fridge works very efficiently on gas and uses very little).
Check that your tv works and that the water pump operates as it should. Any other fitted electrics such as a step, satellite dish, roof lights or drop down bed should also work. If you have any 12v appliances test them in your 12v sockets which you may need adapters for, depending on the make and age of your van. This forum thread explains the differences.
If you have a solar panel fitted, somewhere in your motorhome will be a regulator that makes sure the ebb and flow of charge is kept at the right level. There should be a light indicating the panel is charging the leisure battery, sometimes called ‘bulk’, which tends to happen in the morning as the battery is being newly charged from overnight depletion.
‘Absorption’ is the next phase as your battery reaches it’s fully charged capacity. When on ‘float’, your solar panel is generating a trickle charge. All these stages are normal and mean your regulator is operating as it should. Don’t panic if none of these lights show after dark, your solar panel does not generate any power unless the sun is shining!
Assuming your motorhome electrical system is operating as it should, then you could go off and do a bit of wild camping, but read this post first to understand the finer detail and how the electrical system works without EHU.
Recommended Reading
Preventing Condensation in Your Campervan: Top Tips & Tricks
Motorhoming Tips for Beginners: Essential Know How for Motorhome Life
Tips from Our Readers
What to Do If Something Goes Wrong
Motorhomes can be fickle and things do sometimes go wrong. That’s why you need to have this first trip shake-out so that if something does happen, you can get home and get it sorted.
Before you panic, take the following steps:
After Your Trip
So now you know the basics of how to motorhome. All trips have to end sometime, but hopefully you’ll have learnt a bit about your van, how to live in a motorhome and any motorhome downsides you may not have thought about before. If this trip has really whet your appetite and you’re thinking about selling up and living in a motorhome, check out this post.
There are a few things to do when you get home:
If you are over-wintering your motorhome or leaving it in storage for any longer than a month or so, head to our resources page and download the helpful over-wintering checklist.
Are you looking for more practical motorhome advice and tips? Check out these top posts…
Must-Have Storage Ideas for Your Home on Wheels
Must-Have Mobility Aids for a Comfortable Motorhome Journey
MOT for Long-Term Travel Outside the UK: All You Need to Know
Reinvent Your Life: The Ultimate Gap Year Guide for Over 50s
Motorhome Life: Should You Sell Up to Travel Like We Did?
Why a Motorhome Adventure in Europe Should Be Your Next Trip
Love it? Pin it!
