This post may contain affiliate links, from which we earn an income. Click here to read our affiliate policy.
Habitation Checks for Motorhomes Explained
What is a motorhome habitation check? Do you need one? Lots of motorhome beginners ask these questions, so we’re here to explain everything you need to know about getting your motorhome checked over.
Motorhome Servicing
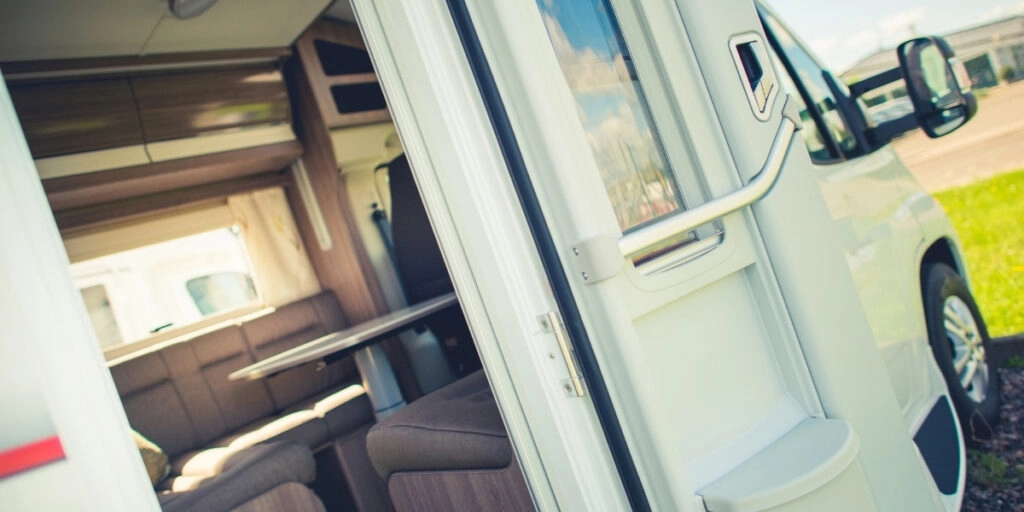
Just like any vehicle, your motorhome needs servicing on a regular basis. The ‘front end’ – the engine, chassis and component parts that are associated with the base vehicle, such as a Fiat Ducato, are serviced by the manufacturer, just as they would be if they were a commercial van.
The ‘back end’ – the habitation area or living space, external bodywork and the appliances you use are checked, and serviced where necessary, during a habitation check.
Do I need a habitation check?
This is a really common motorhoming question. You are responsible for the safe operation of your motorhome, but there is no legal requirement to have a hab check (as they’re often called) and there is no MOT equivalent for the habitation area of a motorhome.
You may be legally required to have a yearly certified gas safety check if you hire or rent your motorhome on a commercial basis, but you should check this with the company organising the rental for you.
If you buy a new motorhome, the motorhome manufacturer will make having an annual habitation check on the back-end of the motorhome a condition of the warranty.
But that’s not the only reason to have a habitation check. A motorhome, campervan or caravan is a big investment and you want to ensure you keep it in tip top condition, so it provides you with years of travel and holds its value should you decide to sell.
Motorhome habitation checks can also identify issues such as faulty appliances, leaks, water ingress and damp, before they become too much of a problem (and expense) to repair.
And finally, a habitation check can keep you safe because your gas appliances will be tested and checked for carbon monoxide leakage during the process.
What happens during a habitation check?
A full professional motorhome habitation check will take around three hours and include well over fifty different checks. The operative will require full access to your motorhome inside and out, so make sure your keys are in good order.
You should also consider at least partially emptying cupboards inside and external storage bins and the garage to make it easier for the person carrying out the checks.
Many of the checks are minor tick box items, but the major things which should be covered are as follows:
Motorhome Bodywork Inspection
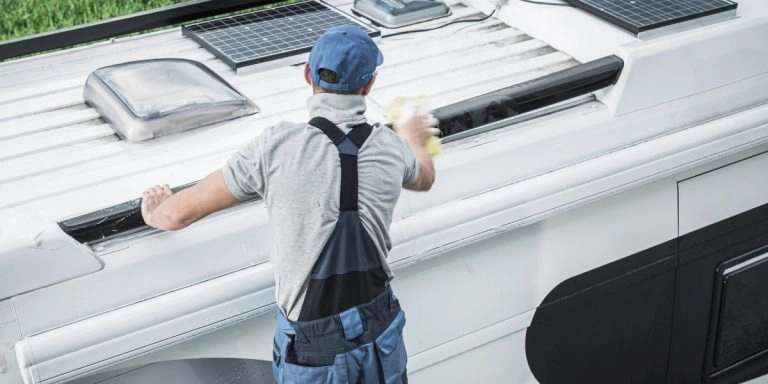
Checking for damaged seals and cracked bodywork panels which could lead to water ingress.
Damp Check
Checking the internal walls, ceiling and floor for any water ingress, moisture or damp with a moisture meter. Depending on the reading (more of that later), further inspection may be advised.
Electrical Checks
Both 12v and 230v electrical systems are checked to make sure they are operating safely. The health of your leisure batteries is also checked to ensure the correct current is being maintained.
Gas Systems Checks
Your gas system, boiler (if you have one) and water heater will be checked for gas leaks. The gas regulator will be checked for pressure and flow.
Water System Checks
Checks to ensure your 12v pump and fresh water tank are operating as they should be and you have no leaks.
The Complete Guide for Motorhome Beginners
With our best motorhome tips and advice about motorhome basics to where to park for the night and ideas for touring Europe, this is the ultimate resource for motorhome newbies.
This motorhoming ebook will help you get to grips with the inner workings of your motorhome, giving you confidence for life on the road and your first motorhome adventure!
How much does a motorhome habitation check cost?
Habitation checks can cost anywhere from £50 for a gas leak check to over £200. A full mobile check, when the provider comes to you, costs £199 from Habcheck, the UK’s leading mobile motorhome habitation check provider.
Costs can also vary depending on whether you use a national company or someone more local to you, and also whereabouts you are in the country. If you are quoted much less than £150, check with the provider exactly what you’re getting for your money – some companies do a cursory check and provide a certificate and report that is pretty meaningless.
You should receive a full and detailed report and completed motorhome habitation check sheet at the end of the check with any areas of concern highlighted.
If your motorhome is in storage, you may find there is a motorhome service centre close by where you could get the check done. Taking your motorhome to the check saves on the costs of a mobile service engineer coming to you.
Make sure they are a member of the Approved Workshop Scheme, where technicians have received motorhome habitation check training.
A habitation check is not actually a motorhome habitation service as your appliances are only checked and not serviced.
You may find that additions like solar panels, air conditioning or your wet central heating system are not covered or checked at all as part of a standard habitation service.
If you want to have extras covered and your appliances serviced then check that they can be included, but expect to pay more for this.
Helpful Motorhome Resources
Motorhoming Tips for Beginners: Essential Know How for Motorhome Life
Motorhome Cleaning: The Best Methods & Products
Preventing Condensation in Your Campervan: Top Tips & Tricks
Motorhome Storage: Your Complete Guide
Can I do a habitation check myself?
Yes! Any competent DIY’er can complete a habitation check themselves. There are a couple of instances when we would advise having it done professionally:
Outside of these areas, there is no reason why you can’t do a habitation check yourself using our free motorhome habitation check list and tips.
How do I do a DIY habitation check?
In reality, much of a DIY habitation check takes place every day as you travel and live in your motorhome. You know that your toilet flush is working and your water boiler does what it’s suppose to.
But, if you don’t regularly check behind the scenes, small leaks, water ingress, cracked seals and rusty hinges can get the better of your motorhome and lead to issues which become more complicated and expensive to fix the longer they are left.
Often these things are harder to see and are not immediately obvious, visually or otherwise. It can takes years of water ingress for the signs to be outwardly visible, whilst within the structure and fabric of your motorhome things are starting to rot and breakdown.
Use our free motorhome habitation checklist to guide you on what to check, and to record your findings. A good time to do a hab check if you don’t live in your van is when you start the season, or when you’re cleaning your motorhome.
One of the benefits of completing the check yourself is that you can service and repair as you go along. Seals can be oiled, hinges lubed and small repairs completed.
How do I perform a DIY damp check?
To complete a DIY damp check you need a damp meter like this one. Moisture meters used to test for damp in motorhomes use a small electrical charge which is passed between two pins when they are both in contact with a surface being tested. Using a moisture meter does require penetration of the fabric which lines your motorhome walls, the head lining of the ceiling and the floor.
The higher the moisture level, the easier it is for the electrical charge to pass between the two pins. The result is shown as a percentage of moisture within the material or surface between the pins, so the result is location specific. This is what the readings mean:
Depending on the time of year and moisture and humidity levels in the air when you do the test, allow for a 2% tolerance. If your reading is between 15-20%, don’t panic but come back and check again a few days later – preferably on a dry day.
If you are still concerned, get a professional check done, where the equipment used will be of a higher grading and more accurate.
It’s unlikely your motorhome insurance will pay for any leaks or areas of water ingress to be repaired, but they might pay for the damage caused by these. It’s worth having a conversation with them if you discover damp.
Other DIY habitation check jobs
AL-KO Chassis
If your motorhome is on an AL-KO chassis, then it is recommended by AL-KO themselves that your should grease your axles. This is what they say;
“We recommend greasing your AL-KO axles every 20,000km, or once a year whichever comes sooner if grease nipples are present on the axle tube.
Ideally jack the motorhome so both wheels are off the ground. Five to seven pumps of a hand grease gun for each side should be sufficient, until resistance is felt. Excess greasing could break the seals and fill the torsion tube.
We recommend 3 greases: Shell Retinax LX, Co. Kluber GL 1501 and Co. CONDA 3746 SP.
Failure to grease regularly could result in a requirement to replace the axles.
If no grease nipples are present then the axle is sealed for life and requires no greasing.
You can find out more on the AL-KO website.
Condition Seals
Keep seals around windows and roof lights in good order to prevent them from the effects of extreme temperatures and weather. Do this by using a rubber seal protectant which will keep your seals lubricated and conditioned and has the added bonus of helping to prevent black streaks.
Lubricate Hinges
Keep your hinges working well by lubricating with grease or WD40 Silicone Spray, which is much easier to apply.
Clean Your Fridge Gas Burner
You don’t need to be a gas engineer to do this. The gas burner can be cleaned once you have closed the gas manifold to the fridge and without having to remove any gas equipment. You can find detailed instructions and illustrations here.
Check & Top Up Your Wet Central Heating System
All motorhome wet central heating systems are filled with a mixture of ethylene and glycol antifreeze which runs through the pipes. This needs to be topped up every so often and replaced every five years.
Somewhere in your van, usually high up, is a plastic reservoir with a pipe entering and another leaving. The reservoir is about one litre in size with a lid, which you open to top up. There are minimum and maximum markings in the reservoir.
Check your motorhome manual or the internet for details on your specific system and the fluid you should use to top up.
Check Fire Safety Equipment
Check the dates on your smoke and carbon monoxide alarm and replace the batteries. Also check the dates on your fire extinguisher and fire blanket and that the housing is secure.
Are you looking for more motorhome tips & tricks? Check out these top posts…
20 Amazingly Simple Camper Hacks
101+ Motorhome Essentials You Need + Packing Checklist
How to Take Your First Motorhome Trip (& have an amazing time!)
How to Plan an Epic Motorhome Road Trip
Top Ten Questions About Motorhome Life
An Easy Guide to Motorhome Electrics
Love it? Pin it!
